If you’ve ever wanted to start a sticker business but felt overwhelmed by the design process — I have good news: you don’t need to be a professional graphic designer. With Canva, you can design eye-catching stickers in minutes.
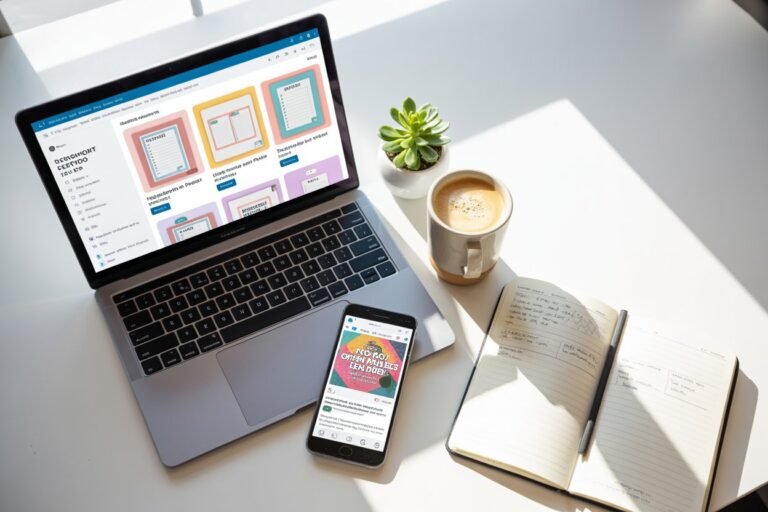
Canva is free, beginner-friendly, and packed with ready-to-use templates. Whether you’re making planner stickers, fun doodles, or packaging labels for your small business, Canva makes it possible to go from idea to finished product without complicated software.
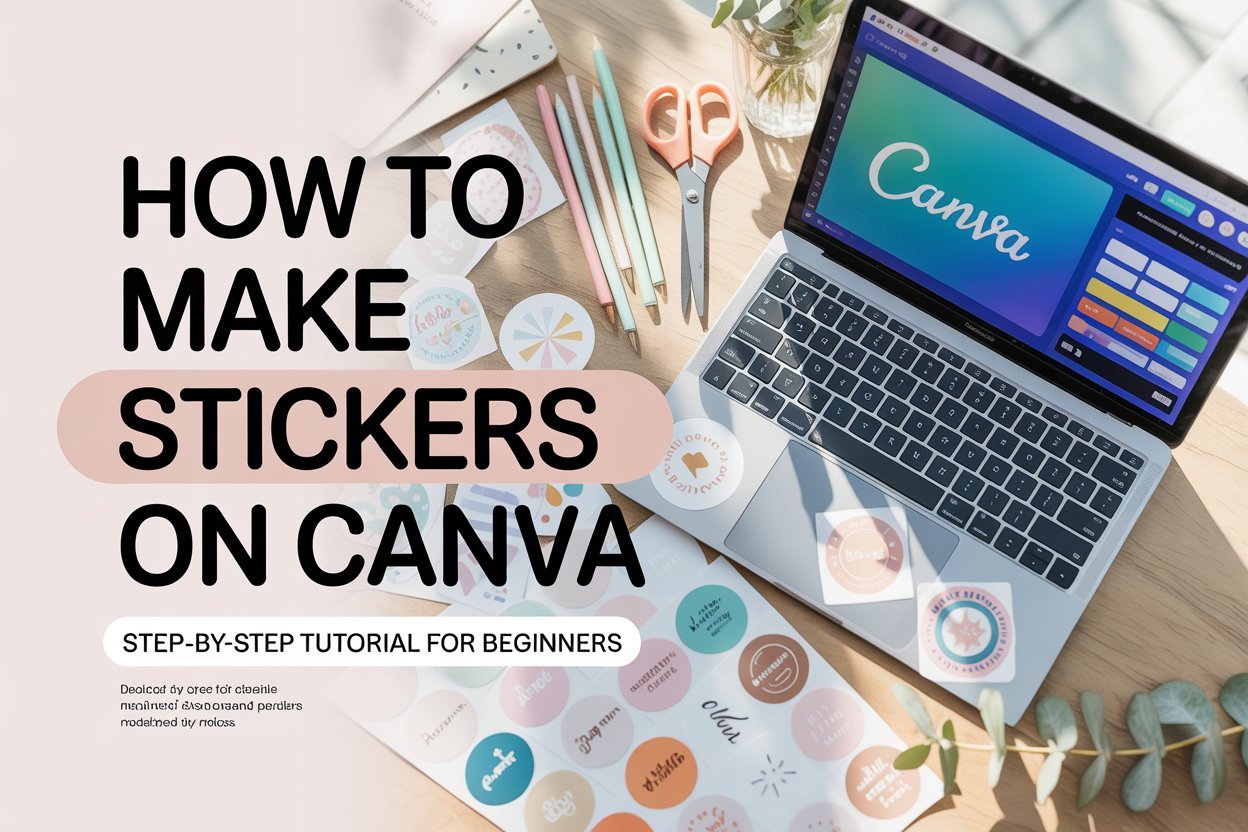
In this tutorial, I’ll walk you through exactly how to make stickers on Canva step by step. By the end, you’ll know how to design, download, and prep your stickers for printing — whether at home with a Cricut or through a professional printer.
Step 1: Sign Up for a Canva Account
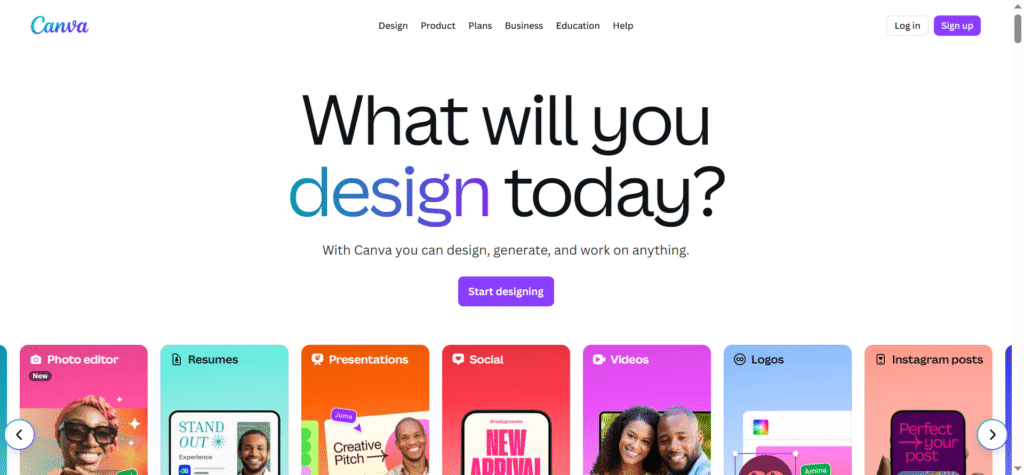
- Head over to Canva.com and sign up for a free account.
- The free version works well, but Canva Pro is worth it if you want access to premium fonts, graphics, and the background remover tool.
- Once logged in, click “Create a Design” → “Custom Size” and set your dimensions (e.g., 8.5 x 11 inches if you’re designing a full sticker sheet).
👉 Pro Tip: Always work in inches when designing for print to keep sizing accurate.
Step 2: Choose Your Sticker Theme or Niche
Before you start dragging elements onto the page, decide what type of stickers you’re making:
- Planner stickers (boxes, icons, reminders)
- Motivational quotes
- Cute doodles (animals, food, plants, kawaii style)
- Business packaging stickers (thank-you, handmade, fragile labels)
👉 Inspiration tip: Browse Etsy’s top-selling sticker shops to see what’s trending and note common design styles.
Step 3: Start Designing Your Stickers in Canva
- Open your blank page in Canva.
- Use the Elements tab to search for graphics, icons, or shapes.
- Add text if you’re making quotes or labels — pick bold, easy-to-read fonts.
- Add color — stickers pop more when they’re vibrant and clear.
- Group multiple elements together for easier resizing.
👉 Pro Tip: Keep designs simple and bold. Intricate, tiny details often don’t print well.
Step 4: Add a White Border Around Your Stickers
That classic white outline is what makes stickers look clean and professional.
Here’s how to add one in Canva:
- Select your design → click Effects → choose Shadow.
- Adjust the shadow to white, increase the offset, and blur to zero.
- Increase transparency until you get a neat border.
Now your sticker will have the cut-line look that Cricut or Silhouette machines recognize.
Step 5: Arrange Your Stickers on a Sheet
- Once you’ve created a few designs, copy and paste them to fill your page.
- Space them out evenly so your cutting machine can detect them properly.
- Add a light rectangle background (invisible when printed) if you’re preparing for kiss-cut sheets.
👉 Pro Tip: Aim for 10–20 stickers per sheet depending on size. Small stickers (like planner icons) can fit even more.
Step 6: Download Your Sticker Sheet for Printing
When you’re ready to print:
- Click Share → Download.
- File type: PDF Print (best for high-quality printing).
- Tick the Crop marks and bleed option for Cricut/Silhouette.
- Save to your computer.
👉 Pro Tip: If you’re outsourcing to a print shop, ask what file type they prefer (usually PDF or PNG).
Step 7: Print and Cut Your Stickers
You have two options:
Option A: Print at Home
- Use glossy or matte sticker paper.
- Print with an inkjet printer (most common).
- Cut using scissors (basic) or a Cricut/Silhouette (professional).
Option B: Outsource Printing
- Upload your designs to Sticker Mule, Vistaprint, or Printify.
- They’ll handle printing and shipping, giving you professional-quality stickers.
Step 8: Test and Refine
Your first print might not be perfect — and that’s okay!
- Test different paper finishes (glossy vs. matte).
- Adjust border thickness if Cricut isn’t cutting cleanly.
- Print small batches to check colors before scaling.
Final Thoughts
Learning how to make stickers on Canva is easier than you think — and it’s the perfect first step if you’re dreaming of starting an Etsy shop or just want cute, custom stickers for yourself.
All you need is:
- A Canva account (free or Pro)
- A bit of creativity
- Sticker paper + printer (or a printing service)
With consistency and a little practice, you’ll be designing sticker sheets that look professional and sell like crazy online.
So open Canva, start designing, and bring your sticker ideas to life — your first customer might be closer than you think.