If you’ve ever bought a cute sticker for your laptop, water bottle, or planner, you already know how addictive they can be. Stickers are small, affordable, and endlessly customizable — which is why they’re one of the top-selling items on Etsy and other online marketplaces.
The best part? Starting a sticker business doesn’t require fancy equipment or a huge investment. With just a laptop, some creativity, and a few basic tools, you can design, print, and sell stickers that customers can’t resist.
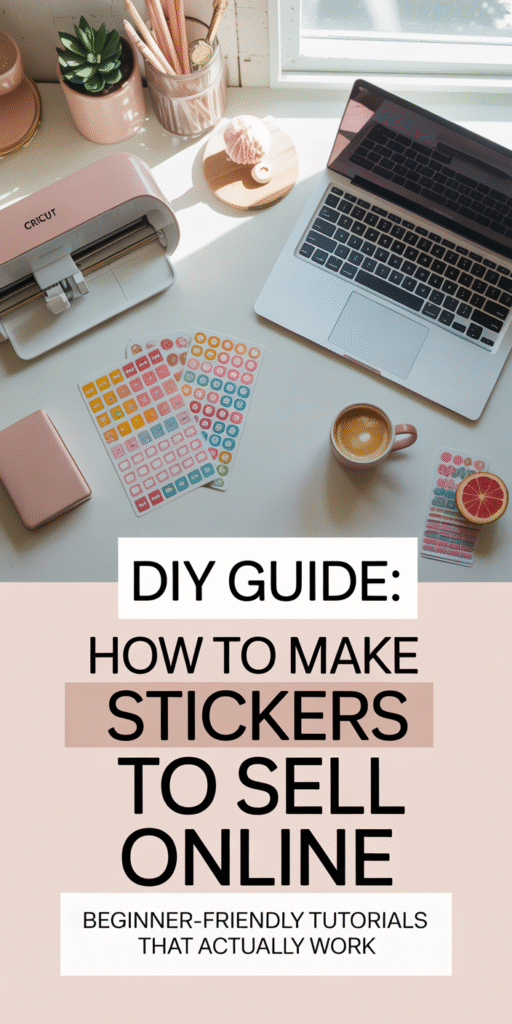
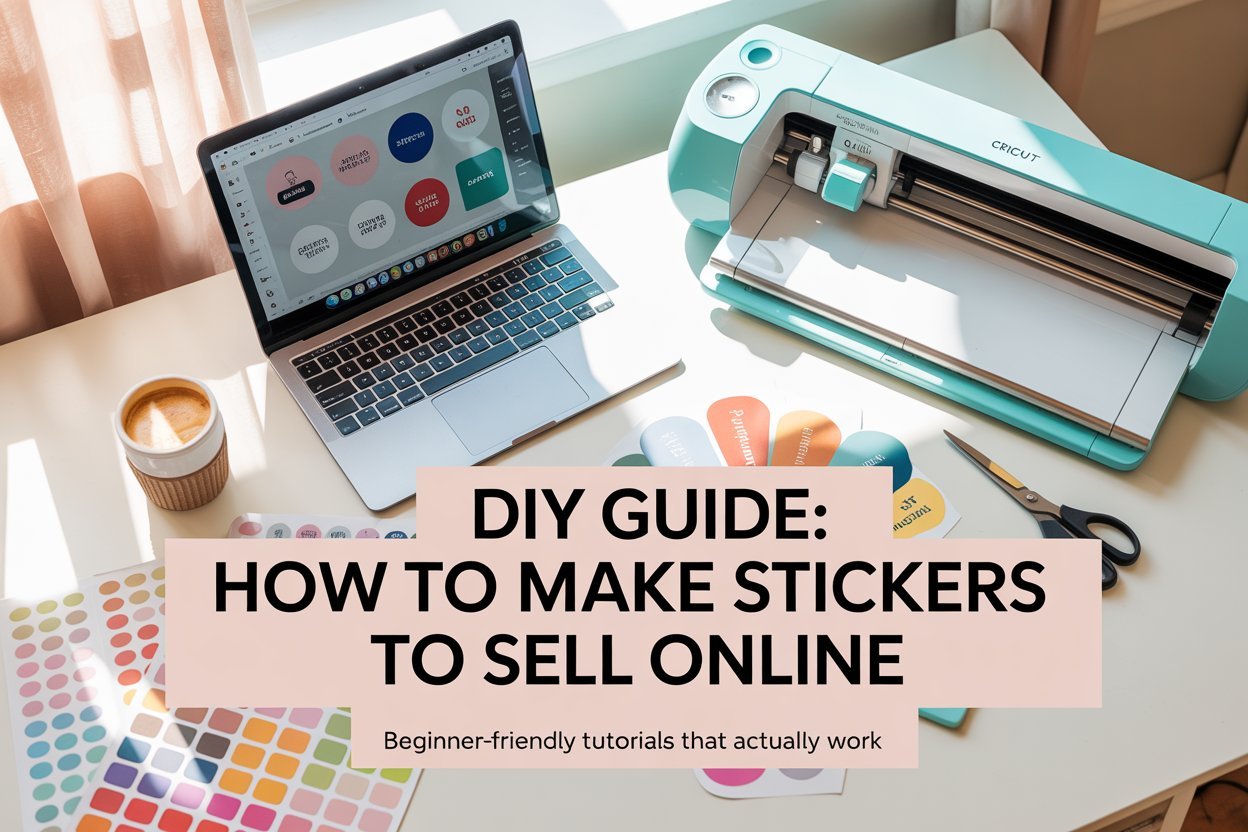
In this guide, I’ll walk you step by step through how to make stickers to sell online, from designing your very first sheet to getting them shipped out the door. By the end, you’ll know exactly how to create stickers that people actually want to buy — and how to turn them into a profitable side hustle (or even full-time income).
Step 1: Choose Your Sticker Niche
Before you start designing, you need to decide what kind of stickers you want to sell. Stickers are such a broad category that finding your niche will help you stand out.
Popular sticker niches:
- Planner stickers: Perfect for productivity lovers who use journals, planners, or calendars.
- Cute and aesthetic designs: Think pastel doodles, kawaii animals, or cottagecore vibes.
- Inspirational quotes: Simple typography stickers with motivational sayings.
- Pop culture designs: Stickers inspired by trends, memes, or fandoms (just be careful of copyright).
- Small business stickers: Thank-you stickers, packaging stickers, or “handmade with love” labels.
👉 Pro tip: Spend 20–30 minutes browsing Etsy or TikTok Shop. Look at the top-selling sticker shops and note what kinds of designs are trending.
Step 2: Design Your Stickers
This is where the fun begins! You don’t need to be a professional graphic designer — tools like Canva or Procreate (iPad app) make it easy to create eye-catching designs.
What you’ll need:
- Canva (Pro recommended): Has tons of templates, fonts, and graphics.
- Procreate (for iPad): Great if you want hand-drawn or custom illustrated designs.
- Adobe Illustrator or Photoshop: Best if you want more advanced design control.
Tips for great sticker designs:
- Use bold colors and simple shapes that look good when printed small.
- Leave a white border (cut line) around your sticker to make it stand out.
- Stick with a consistent style so your shop feels cohesive.
Step 3: Decide How to Print Your Stickers
There are two main ways to make stickers: print at home or use a professional printing service.
Option 1: Print at Home
Perfect for beginners or small shops.
- What you need:
- Printer (inkjet or laser, though inkjet is more common).
- Sticker paper (matte, glossy, or waterproof).
- Cutting tool (Cricut or Silhouette machine for precision, or scissors/X-Acto knife for small runs).
- Pros: Total control, cheaper in the long run, faster turnaround.
- Cons: Takes time, upfront investment in supplies.
Option 2: Outsource to a Printer
Great for larger orders or if you don’t want the hassle of printing yourself.
- Popular sites: Sticker Mule, Printify, or Vistaprint.
- Pros: Professional quality, no need for expensive equipment.
- Cons: Higher cost per sticker, less control over production speed.
👉 Pro tip: Many beginners start printing at home with a Cricut + inkjet combo, then upgrade to outsourcing once sales grow.
Step 4: Cut Your Stickers
If you’re printing at home, cutting is key. No one wants stickers with jagged edges.
- Cricut or Silhouette machines: Best for die-cut or kiss-cut sheets.
- Scissors/X-Acto knife: Works if you’re starting small, but not ideal for scaling.
Make sure to use the correct cut settings on your Cricut or Silhouette for “sticker paper” so the blade cuts through only the top layer, leaving the backing intact.
Step 5: Package Your Stickers
Packaging might seem small, but it makes a huge difference for customer experience (and repeat buyers).
- Use clear cellophane bags to protect stickers from water/damage.
- Add a thank-you card or mini freebie sticker.
- Use rigid mailers so stickers don’t bend during shipping.
- Consider eco-friendly packaging — it’s a big selling point for customers today.
Step 6: Where to Sell Stickers Online
Once your stickers are ready, it’s time to sell! Here are the top platforms:
- Etsy: The biggest marketplace for stickers; easy to start, built-in traffic.
- Shopify: Great if you want full control of your own store.
- TikTok Shop: Trending platform where stickers can go viral fast.
- Instagram Shop: Perfect if you already have a following.
👉 Pro tip: Start with Etsy (low barrier to entry), then expand to Shopify once you’ve built up a consistent income.
Step 7: Market Your Sticker Shop
Stickers are visual products — which makes them perfect for social media marketing.
- Pinterest: Create eye-catching pin mockups of your stickers.
- TikTok: Show behind-the-scenes of designing, cutting, and packaging stickers.
- Instagram: Share styled product photos and customer reviews.
Engage with your audience by showing your creative process. Customers love seeing the story behind the product.
Step 8: How Much Can You Make Selling Stickers?
The earning potential is real. On Etsy, many sticker shops sell thousands of products per month.
- Beginner sellers: $100–$500/month.
- Growing shops: $1,000–$3,000/month.
- Top shops: $5,000–$10,000+/month.
The key? Create quality designs, market consistently, and keep adding new products.
Final Thoughts
Making and selling stickers is one of the most beginner-friendly ways to start an online business. The startup costs are low, the products are fun to create, and the demand is sky-high.
If you’re looking for a side hustle that can grow into a full-time income, stickers are a fantastic option. Start small, learn as you go, and don’t be afraid to experiment with different designs.
Who knows? Your simple sticker idea might just be the next bestseller on Etsy.