So, you’re ready to start a blog — amazing! 🎉 Maybe you want to share family routines and tips as a mom blogger, document your travels, post recipes, teach finance basics, or record what’s growing in your backyard. Blogging is one of the best ways to express yourself, help others, and build something that’s truly yours.
But let’s be honest: when you’re starting out, it can feel intimidating. Domains? Hosting? WordPress? Plugins? It all sounds like another language.
Don’t worry. I’ve been there — and I’m here to walk you through every step. In this tutorial, I’ll show you exactly how to start a blog using Hostinger, one of the most affordable and beginner-friendly hosting companies out there. By the end of this guide, you’ll have a professional-looking blog up and running, ready for your very first post.
Let’s dive in.
Step 1: Choose Your Blog Niche
The very first step in starting a blog is deciding what you’ll write about. Your niche is simply your blog’s main topic, and it helps you focus your content and attract the right readers.
Here are some popular beginner-friendly niches:
- Mom Blog: parenting routines, kids’ activities, family hacks, product reviews
- Travel Blog: destination guides, itineraries, packing tips, budget travel
- Recipe Blog: quick weeknight dinners, desserts, baking, meal prep
- Business & Finance Blog: budgeting, saving, side hustles, productivity
- Gardening Blog: planting guides, seasonal tips, backyard projects
- Lifestyle Blog: a mix of everyday life — home, wellness, organization, etc.
…and so on. You can start a blog about pretty much anything — cooking, travel, money, gardening, or a little of everything. The most important part? Pick something you genuinely enjoy.
Pro Tip: Don’t overthink it. You can always refine or expand your niche later.
Step 2: Pick a Domain Name
Your domain is your blog’s address on the internet (like www.myblog.com).
Normally, a domain name costs about $10–$15 per year, but the web hosting we’ll be using — and the one I personally use for all my websites ( HOSTINGER) — offers you a completely free domain for the first year. That means you can save money right from the start. 🎉
Tips for choosing a domain name:
- Keep it short, simple, and easy to spell
- Avoid numbers, hyphens, or complicated words
- Stick with .com if possible (it’s still the most trusted)
- Make it broad enough so you can grow into it later
Examples:
- For a recipe blog → SavvyRecipes.com
- For a finance blog → SmartCents.com
- For a gardening blog → GreenPatchLiving.com
If you’re stuck, Hostinger has a free Domain Checker that helps you see what names are available.
Step 3: Get Hosting with Hostinger
Hosting is what makes your blog visible online. Without hosting, your domain is just a name — hosting gives it a home.
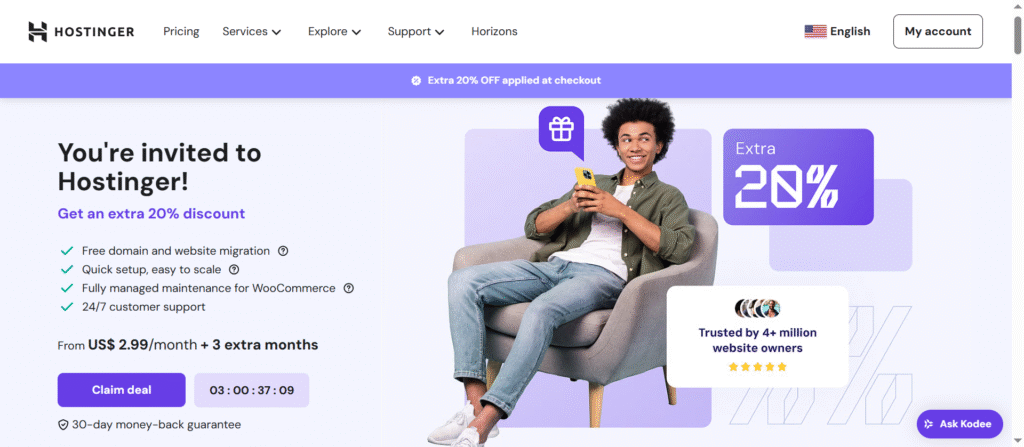
Why Hostinger?
- Affordable (plans often start under $3/month)
- Free domain name for the first year
- Fast, reliable servers (important for readers and SEO)
- Beginner-friendly dashboard (hPanel)
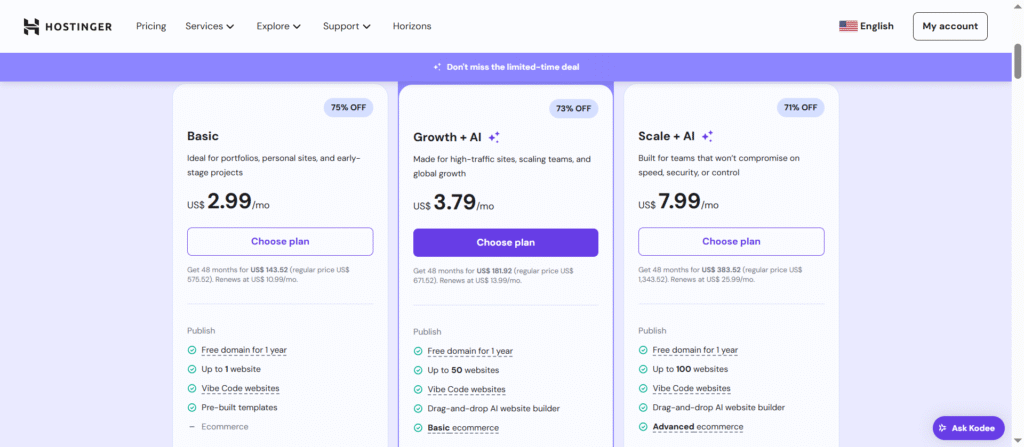
How to set it up:
- Go to Hostinger.
- Select a WordPress hosting plan (Premium or Business is best for beginners).
- Register your domain name.
- Complete checkout.
- Access your Hostinger dashboard (hPanel).
Congrats! 🎉 You officially have hosting + a domain.
Step 4: Install WordPress
WordPress is the platform you’ll use to design your blog and publish posts. Don’t confuse this with WordPress.com (the free version) — Hostinger gives you the full version (WordPress.org), which is way more powerful.
How to install WordPress with Hostinger:
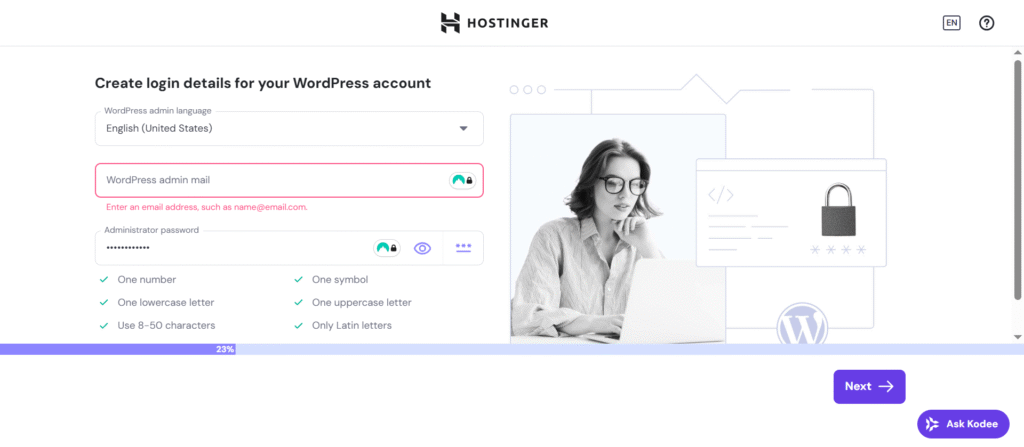
- From hPanel, click Auto Installer.
- Select WordPress.
- Enter your blog name, admin email, and a strong password.
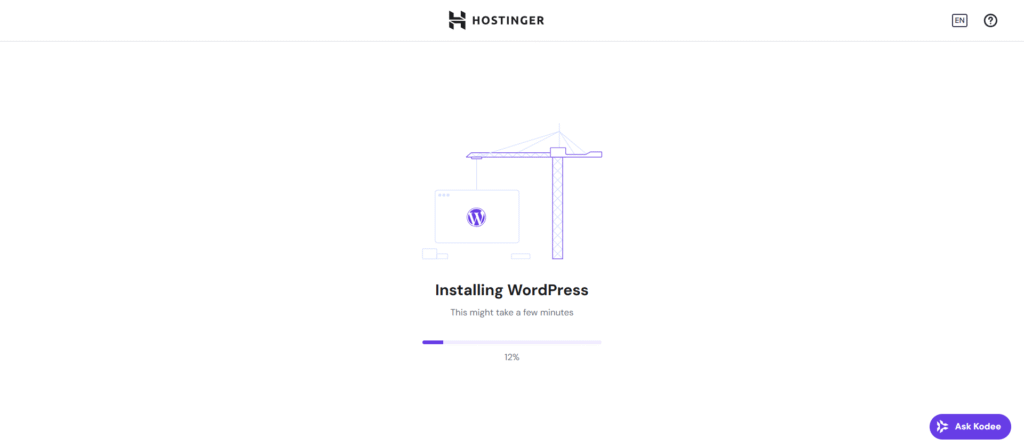
- Click Install.
- Log in at
yourdomain.com/wp-admin.
Bookmark this login page — it’s your control center.
Step 5: Do Basic WordPress Setup
Before you start posting, adjust a few settings:
- Settings → General: Set your site title + tagline
- Settings → Permalinks: Select Post name (clean URLs like
yourblog.com/my-first-post) - Users → Profile: Update your display name (how it shows on posts)
- Delete any “dummy” plugins or posts WordPress installs by default
Step 6: Choose a Theme
Your theme controls your blog’s design. WordPress has thousands of free and premium options.
Beginner-friendly themes:
- Astra → lightweight, customizable, with starter templates
- Kadence → modern and flexible
- GeneratePress → clean, minimal, professional
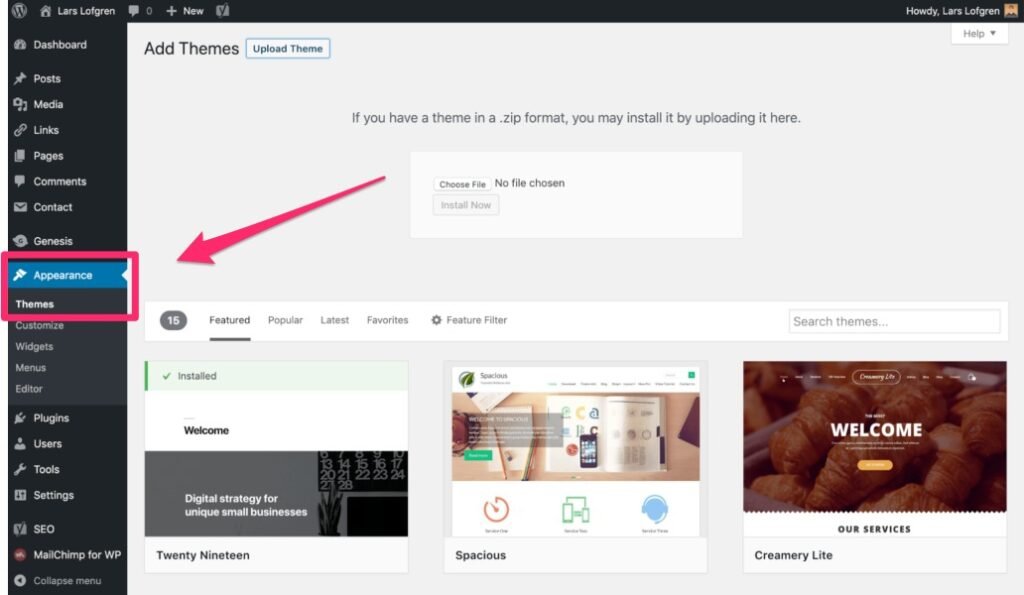
How to install a theme:
- Go to Appearance → Themes → Add New
- Search for “Astra” (or your choice)
- Click Install → Activate
Want a quick start? Install Starter Templates (Astra plugin) → choose a template based on your niche (Food, Travel, Business, Lifestyle, etc.).
Step 7: Install Essential Plugins
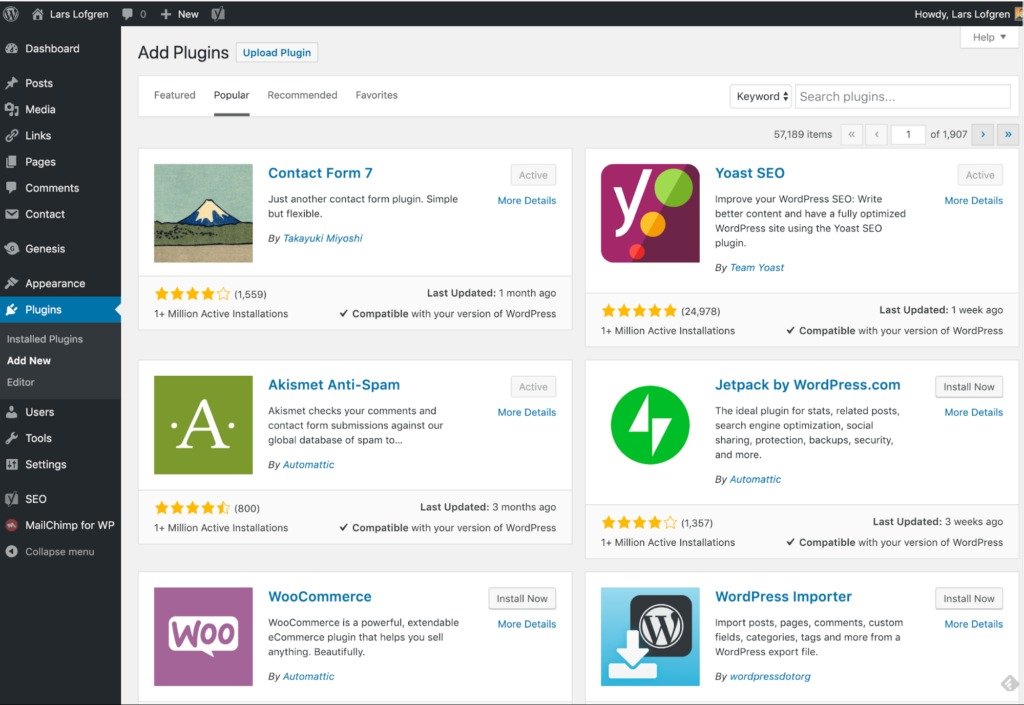
Plugins are like apps that add extra features to your site.
Must-have plugins for beginners:
- Yoast SEO → Helps optimize posts for Google
- WPForms Lite → Drag-and-drop contact forms
- UpdraftPlus → Automatic backups
- Site Kit by Google → Connect Analytics + Search Console
- LiteSpeed Cache → Boosts site speed (usually pre-installed with Hostinger)
How to install a plugin:
Dashboard → Plugins → Add New → Search → Install → Activate
Step 8: Create Essential Pages
Every blog needs a few foundation pages before you dive into posts:
- About Page → Who you are and what your blog is about
- Contact Page → Add a simple form with WPForms
- Privacy Policy → Required if you plan to use analytics or ads (WordPress has a template)
- Disclaimer Page (optional) → If sharing health, finance, or affiliate content
Add them under Pages → Add New.
Step 9: Customize Your Blog
Now it’s time to make it feel like your blog.
Go to Appearance → Customize and tweak:
- Logo & Site Identity: upload a logo (use Canva if you don’t have one)
- Colors & Fonts: keep it simple, clean, and easy to read
- Homepage: set to Latest Posts or choose a Static Page
- Menu: add your pages (About, Blog, Contact, etc.)
Design Tip: Less is more. Stick to 2–3 colors and 2 fonts for a clean look.
Step 10: Organize Categories
Categories help structure your blog posts. Start with 3–6 main ones based on your niche.
Examples:
- Mom Blog: Parenting, Home, Kids’ Activities, Organization
- Travel Blog: Destinations, Tips, Budget Travel, Itineraries
- Recipe Blog: Breakfast, Dinner, Desserts, Meal Prep
- Finance Blog: Budgeting, Saving, Side Hustles, Beginners’ Guides
- Gardening Blog: Vegetables, Flowers, Seasonal Tips, DIY Projects
Add categories under Posts → Categories.
Step 11: Write Your First Blog Post
Now for the fun part — creating content!
How to add a post:
- Go to Posts → Add New
- Add a clear, specific title (e.g., “10 Easy Recipes for Busy Weeknights”)
- Write an engaging intro (hook readers, set expectations)
- Use headings (H2, H3) to break up sections
- Add images (with descriptive alt text for SEO)
- Wrap up with a conclusion or call-to-action
- Click Publish 🎉
Pro Tip: Don’t aim for perfection. Your first post is practice — you’ll improve with each one.
Step 12: Promote Your Blog
A blog without readers is like a book no one opens. Once you have content, start promoting:
- Pinterest: Create pins for each post (great traffic source for recipes, travel, mom blogs, gardening, etc.)
- Social Media: Share posts in relevant groups or on your accounts
- SEO: Use Yoast to optimize titles + meta descriptions so Google can find you
- Email List (later): Add a sign-up form for readers to subscribe
Step 13: Keep Learning + Stay Consistent
Blogging is a journey. Don’t feel pressured to have it all perfect from day one. The most important thing is consistency — keep publishing, keep tweaking, and keep learning.
Remember: Every big blogger you admire started with one simple post.
Final Thoughts
Starting a blog can feel overwhelming at first, but with Hostinger + WordPress, it’s actually very manageable.
To recap:
- Choose your niche (recipes, travel, mom, finance, gardening, lifestyle, etc.)
- Pick a domain name
- Get hosting with Hostinger
- Install WordPress
- Adjust basic settings
- Choose a theme
- Add plugins
- Create essential pages
- Customize design
- Create categories
- Write your first post
- Promote your blog
- Stay consistent
The best time to start your blog was yesterday. The second-best time? Today. So take the leap — your readers are waiting.