Why Most SVG Conversions Fail (And Why Yours Might Too)
If you’ve ever tried converting a photo into an SVG and uploading it into Cricut Design Space, you’ve probably run into one of these problems:
- the image looks jagged or messy
- there are too many cut lines
- random shapes appear everywhere
- it simply doesn’t cut cleanly
At first, it feels like the tool is the problem.
But it’s not.
The real issue is this:
Most people try to convert images instead of simplifying them.
That one mistake is what causes almost every bad SVG result.
SVG files are not designed to perfectly recreate photos. They’re designed to turn images into clean, readable paths that machines like Cricut can follow.
Once you understand that, everything about this process starts to make sense.
What an SVG File Really Is (Simple but Important)
Before we get into the steps, it’s important to understand what you’re actually creating.
An SVG (Scalable Vector Graphic) is made of:
- lines
- curves
- shapes
Not pixels.
That’s why:
- it can be resized infinitely
- it stays sharp at any size
- Cricut can read it as cut paths
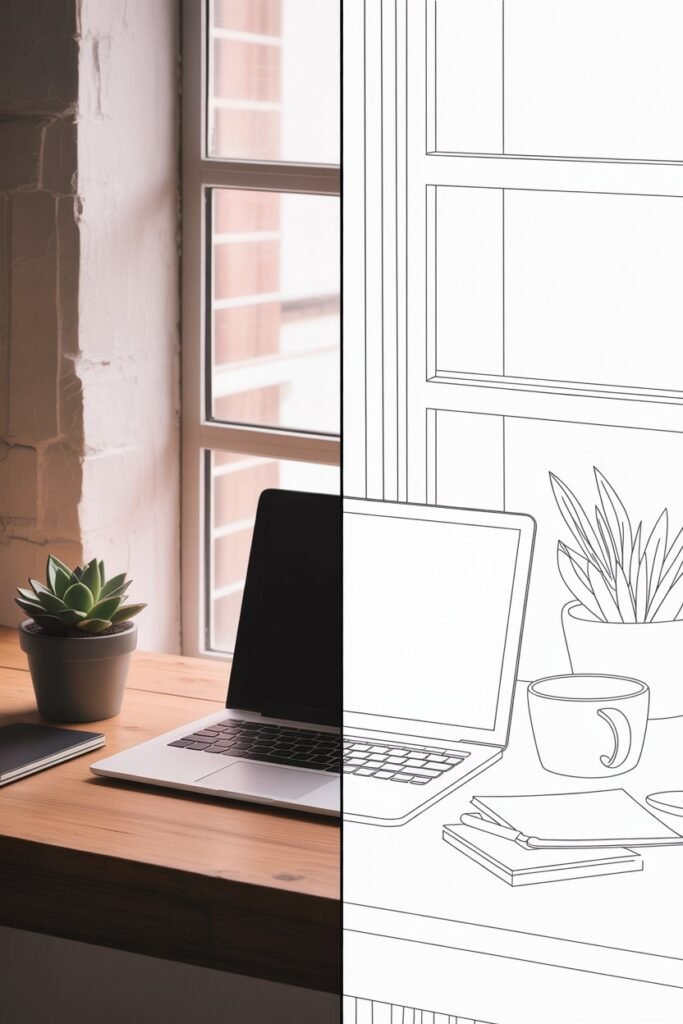
Think of it like this:
A JPG is a photograph.
An SVG is a clean outline drawing built from shapes.
And Cricut only works well when those shapes are simple and clean.
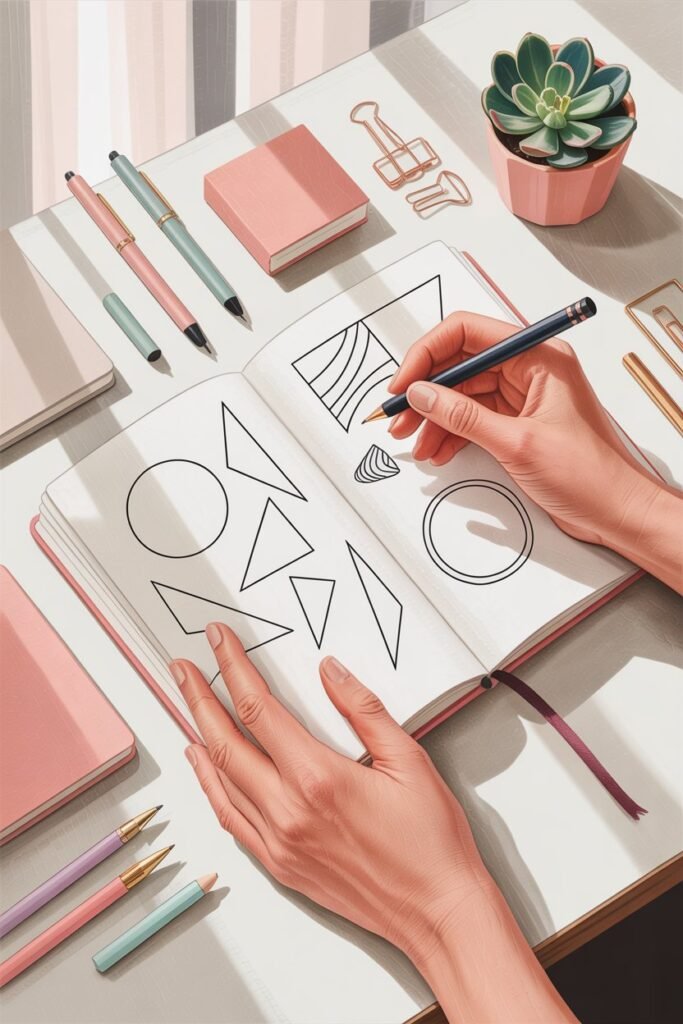
The Mindset Shift That Fixes Everything
This is where most beginners get stuck.
They try to:
- keep every detail
- preserve every shadow
- make the SVG look exactly like the original photo
But that’s the wrong approach.
Instead, you need to think like this:
“How can I reduce this image to its simplest form?”
Because the cleaner your design is:
- the easier it cuts
- the better it looks
- the less frustration you’ll have
This mindset shift alone will save you hours.
When You Should (And Shouldn’t) Convert a Photo to SVG
Not every image is worth converting.
This is one of the biggest time-wasters for beginners — trying to force the wrong images to work.
Images That Convert Well
- logos
- silhouettes
- bold text
- simple illustrations
- high-contrast graphics
These work because they already have clear edges and defined shapes.
Images That Don’t Convert Well
- portraits
- detailed photos
- images with shadows or gradients
- busy backgrounds
You can convert these, but they usually require heavy editing first.
If you skip that step, the result will look messy.
Step 1: Prepare Your Image First (This Is the Most Important Step)
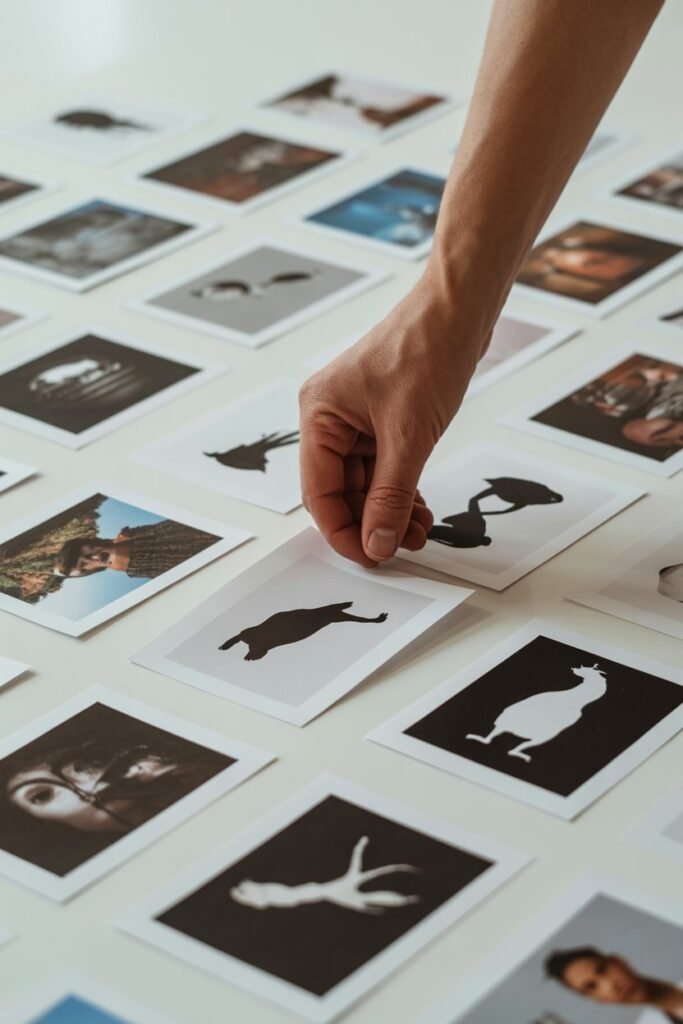
If you skip this step, nothing else will fix your result.
Before converting your image, you need to clean it up.
What You Want to Achieve
Your goal is to turn your image into something that:
- has strong contrast
- has clear edges
- contains as little unnecessary detail as possible
How to Prepare Your Image
You don’t need advanced tools for this.
Just focus on these simple changes:
- convert the image to black and white
- increase contrast
- remove the background if possible
- crop out unnecessary areas
Even basic editing can completely change how clean your SVG turns out.
Why This Step Matters So Much
When you upload an image into a converter, the software tries to detect edges.
If your image is messy:
- it creates too many paths
- it adds unnecessary detail
- it becomes difficult for Cricut to read
But when your image is clean:
- the paths are simple
- the design looks sharp
- cutting becomes smooth and accurate
Step 2: Choose the Right Tool (Don’t Overcomplicate This)
You don’t need expensive software to create good SVG files.
But you do need a tool that gives you enough control.
Best Free Option
Inkscape
This is one of the best tools for beginners because:
- it’s completely free
- it has powerful tracing features
- you can clean up your design easily
If you’re serious about creating clean SVGs, this is the best place to start.
Professional Option
Adobe Illustrator
This gives you:
- faster workflow
- more precise control
- better results for complex designs
But it’s not necessary if you’re just starting.
Quick Online Option (Use Carefully)
Convertio
This is useful if you want something fast.
But there’s a trade-off:
- less control
- more messy outputs
- limited ability to fix problems
So it’s fine for quick tests, but not ideal for high-quality results.
The Key Difference Most People Miss
Online tools try to do everything automatically.
Design software lets you control the result.
And that’s what makes the biggest difference in quality.
Step 3: Trace the Image (Where the Conversion Actually Happens)
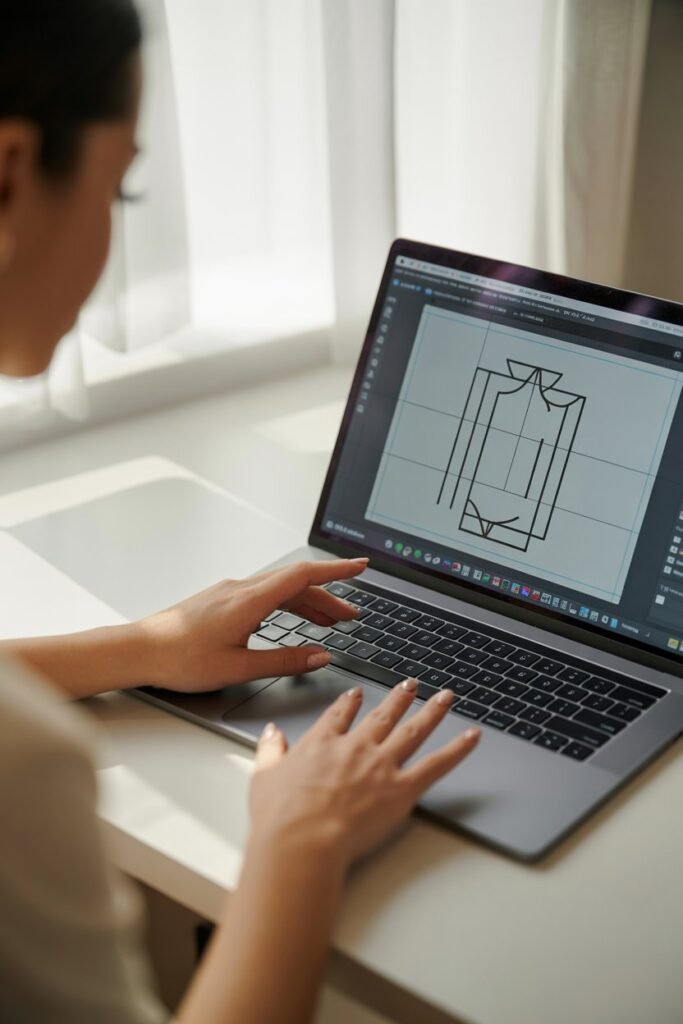
This is the step where your image becomes an SVG.
But again, it’s not about converting perfectly.
It’s about simplifying intelligently.
In Inkscape
- import your image
- go to Path → Trace Bitmap
In Illustrator
- select your image
- click Image Trace
What Settings Should You Use?
This is where beginners often go wrong by choosing too much detail.
Start simple:
- black and white mode
- lower detail level
- smooth edges
Don’t try to capture everything.
The more detail you keep, the worse your SVG becomes for Cricut.
Why Simpler Is Always Better for Cricut
Cricut machines don’t “see” images like we do.
They follow paths.
If your SVG has:
- too many nodes
- too many shapes
- unnecessary complexity
It leads to:
- longer cutting times
- messy results
- wasted materials
Simple designs cut faster, cleaner, and more accurately.
Step 4: Clean Up Your SVG (This Is What Separates Beginners From Pros)
This is the step almost every tutorial skips.
And it’s the reason most SVG files look bad.
After tracing your image, your SVG will usually:
- have rough edges
- contain extra shapes
- include too many points (nodes)
That’s normal.
But if you upload it into Cricut like that, you’ll get:
- uneven cuts
- strange lines
- wasted materials
So now you refine it.
What You Should Fix
Focus on three things:
1. Remove Unnecessary Shapes
Sometimes tracing creates random pieces you don’t need. Delete them.
2. Smooth Rough Edges
Jagged edges = messy cuts. Use smoothing tools to clean them up.
3. Reduce Nodes (Points)
Too many nodes make your design harder for Cricut to follow. Simplify paths where possible.
Why This Step Matters So Much
This is where your SVG goes from:
“technically converted” → actually usable
Even spending 5–10 minutes here can completely change your results.
Step 5: Save Your SVG the Right Way
Once your design looks clean, you’re ready to export.
Keep it simple:
- save as SVG
- avoid unnecessary settings or effects
- don’t over-compress the file
A clean export ensures Cricut reads your file correctly without errors.
Step 6: Test It Inside Cricut Design Space
This step is non-negotiable.
Upload your SVG and check carefully:
- are the cut lines smooth?
- are there extra shapes you didn’t notice?
- does the design stay grouped correctly?
If something looks off, don’t force it.
Go back, adjust, and fix it properly.
Common Problems (And How to Fix Them Fast)
Problem: The SVG Looks Messy
Cause: Too much detail in the original image
Fix: Simplify the image before tracing
Problem: Too Many Cut Lines
Cause: High-detail trace settings
Fix: Lower detail and reduce nodes
Problem: Cricut Cuts Random Shapes
Cause: Extra paths or leftover elements
Fix: Delete unnecessary shapes during cleanup
Problem: File Won’t Upload Properly
Cause: Incorrect export settings
Fix: Re-save as a clean SVG
Advanced Tips That Make a Huge Difference
Once you understand the basics, these will take your results to another level:
Use Fewer Colors
More colors = more shapes = more problems.
Stick to simple color schemes when possible.
Increase Contrast Before Tracing
This helps your software detect edges more clearly.
Simplify Before You Convert
Don’t rely on the tool to do everything for you.
The cleaner your starting image is, the better your final SVG will be.
Zoom In Before Saving
Always inspect your edges closely.
Small imperfections become big problems when cutting.
Practice With Simple Designs First
Don’t start with complicated images.
Master simple shapes first, then build from there.
How to Turn This Skill Into Income
Once you get good at creating clean SVG files, this becomes more than just a useful skill.
You can actually make money with it.
Sell SVG Files
Platforms like Etsy are full of people buying:
- Cricut designs
- quotes and lettering
- seasonal graphics
Simple, clean designs sell best.
Create Custom Designs
You can offer:
- personalized SVG files
- custom logos
- event designs (weddings, birthdays)
These are high-demand and often charge more.
Build Digital Products
You can bundle SVGs into:
- design packs
- niche collections (holidays, fitness, business)
This creates passive income over time.
The Biggest Mistake Beginners Make (And How to Avoid It)
Most people think:
“I just need a better converter.”
But that’s not the issue.
The real problem is:
- starting with the wrong image
- trying to keep too much detail
- skipping cleanup
The fix is simple:
Focus on clean, simple shapes from the start.
That’s what makes everything easier.
FAQ (Short + SEO-Friendly)
Can I convert any image to an SVG for Cricut?
Yes, but simple, high-contrast images work best.
Why does my SVG look messy?
Your image likely has too much detail or wasn’t cleaned up after tracing.
Is Inkscape good enough?
Yes, it’s one of the best free tools available for SVG creation.
Do I need Illustrator?
No, but it provides more advanced control if you need it.
What makes a good SVG for Cricut?
Clean lines, simple shapes, and minimal unnecessary detail.
Final Thoughts
Learning how to convert a photo to an SVG isn’t about mastering complicated tools.
It’s about understanding a simple principle:
Cricut doesn’t need detail. It needs clarity.
Once you stop trying to preserve every part of an image and start focusing on clean shapes, your results improve fast.
You’ll spend less time fixing problems
and more time creating designs that actually work.