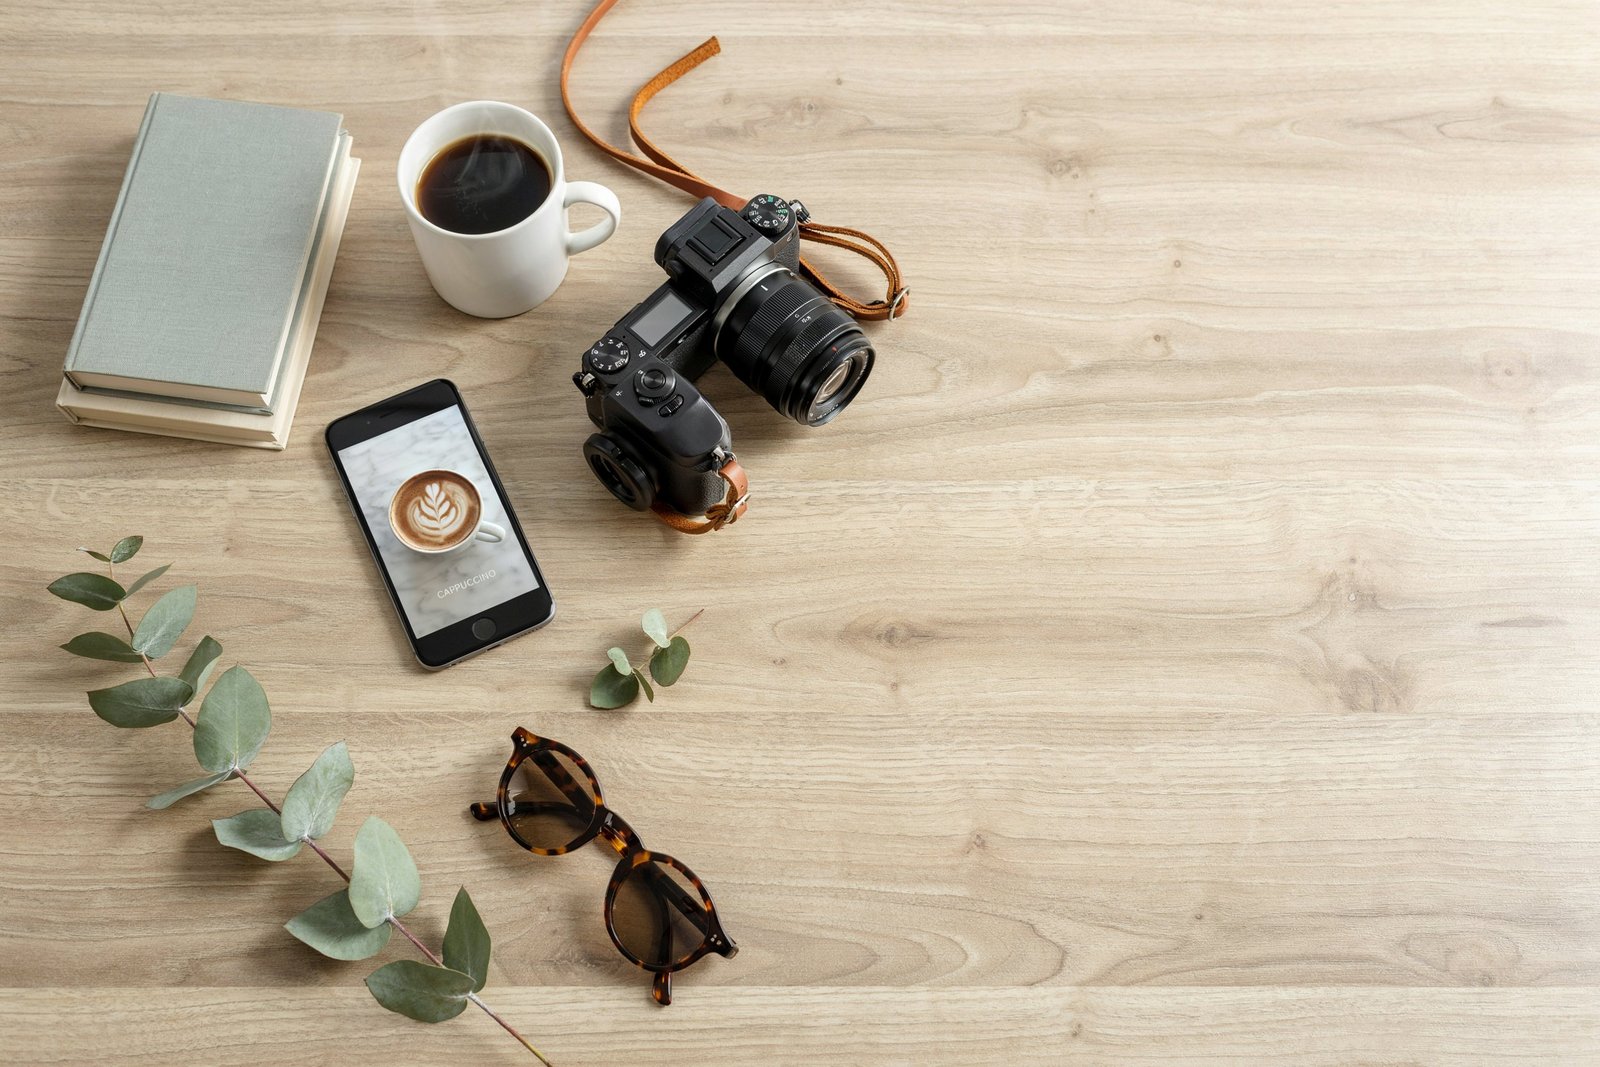
I used to think you needed an expensive camera to take amazing photos.
Every time I saw those clean, aesthetic shots online, I assumed they were taken with professional gear.
But then I started experimenting with my phone.
Same phone I used every day.
And that’s when I realized something surprising:
👉 It’s not your camera. It’s how you use it.
Once I learned a few simple techniques, my photos went from average to “wait… you took this on your phone?”
In this guide, I’ll show you the exact smartphone photography tips that actually make a difference, even if you’re starting from zero.
Why Most Smartphone Photos Don’t Look Good (And How to Fix It)
Let’s be honest.
Most phone photos look:
- Flat
- Blurry
- Poorly lit
- Just… boring
And it’s not because your phone is bad.
It’s usually because of small mistakes that are easy to fix once you know them.
The biggest ones?
1. Bad Lighting
Lighting is everything. Even the best camera can’t fix poor lighting.
2. No Composition
Random shots without structure rarely look professional.
3. Overusing Filters
Too much editing can actually ruin a good photo.
The good news?
You can fix all of this starting today.
10 Pro Smartphone Photography Tips to Capture Stunning Shots
Let’s get into the tips that actually changed my photos.
1. Use Natural Light (This Changes Everything)
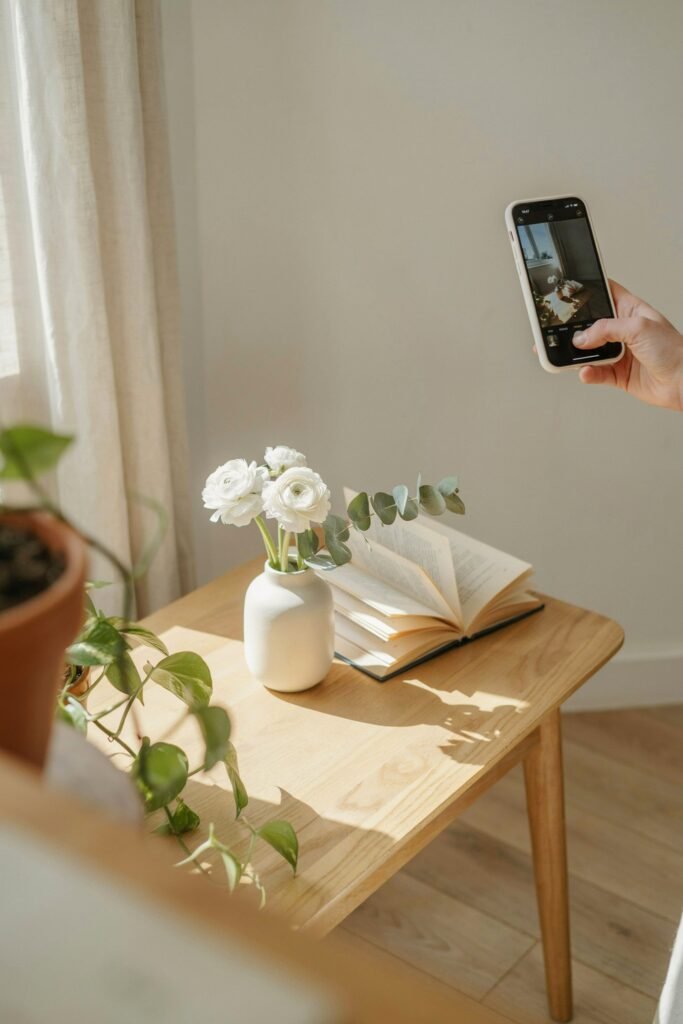
If you only follow one tip from this post, make it this one.
Natural light instantly makes your photos look better.
What I do:
- Shoot near windows
- Take photos early morning or late afternoon
- Avoid harsh midday sun
The difference is huge.
Soft light = clean, aesthetic photos.
2. Clean Your Camera Lens (Seriously)
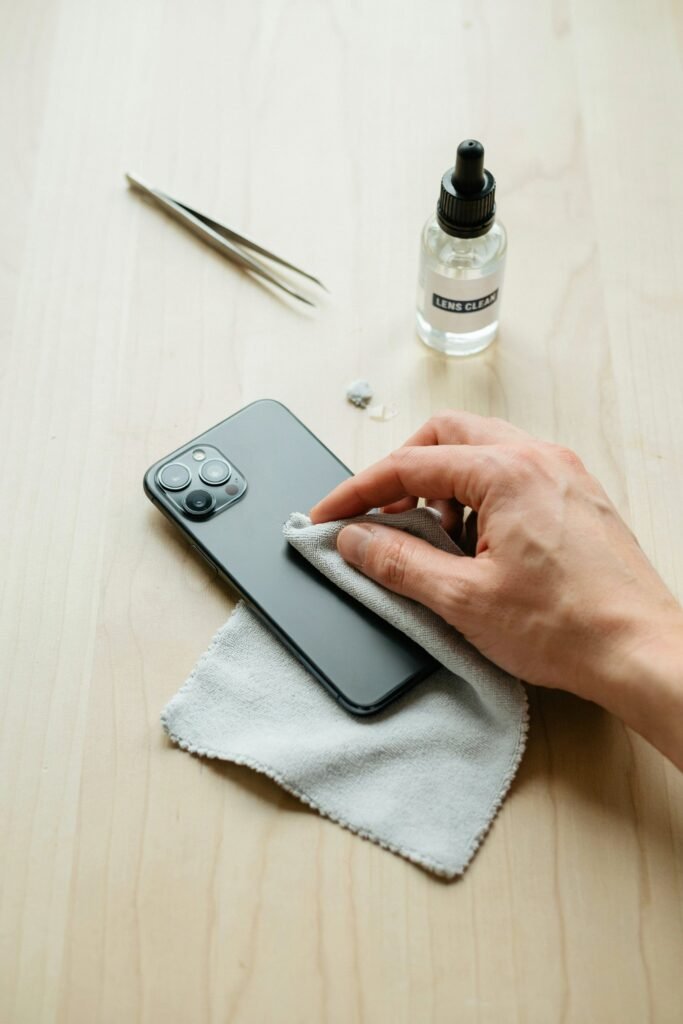
This sounds too simple… but it matters.
I used to take blurry photos and blame my phone.
Turns out, my lens was just dirty.
Now I always:
- Wipe it with a soft cloth
- Check before shooting
It takes 2 seconds and improves sharpness instantly.
3. Use the Gridlines for Better Composition
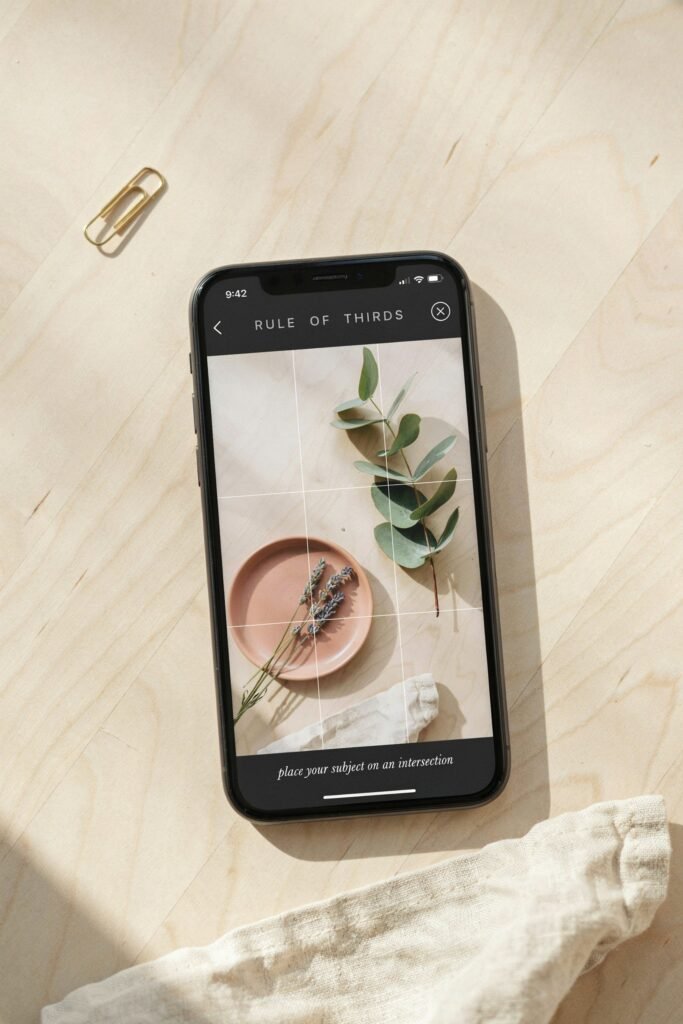
This is one of the easiest ways to level up your photos.
Turn on your camera gridlines.
Then use the rule of thirds:
- Place your subject slightly off-center
- Align with the grid lines
It makes your photos look more balanced and professional.
4. Tap to Focus and Adjust Exposure
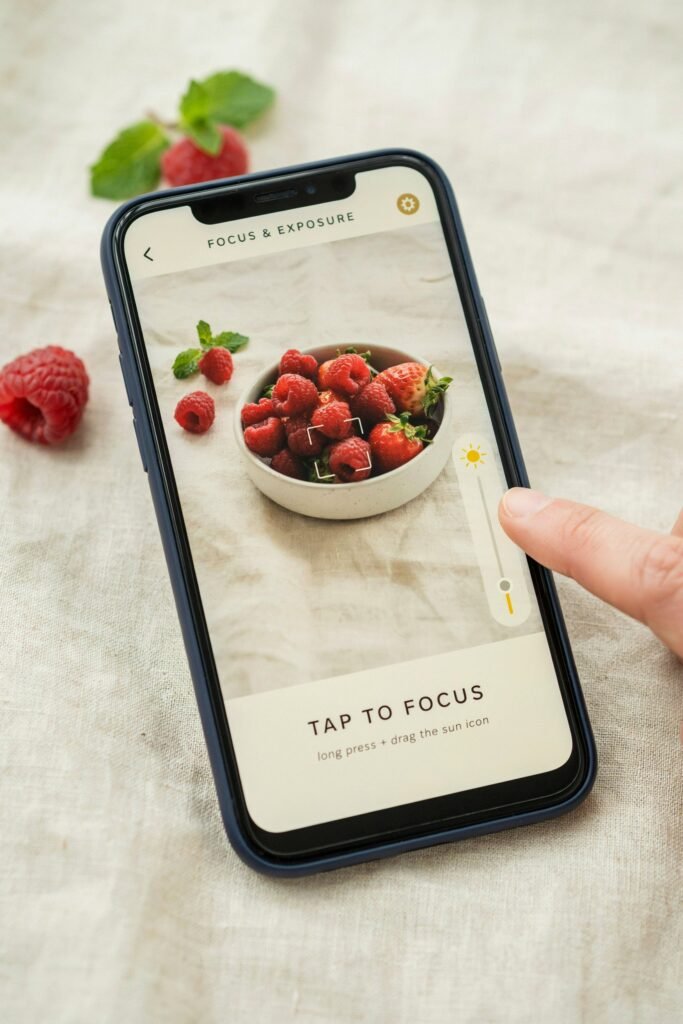
Most people just point and shoot.
Big mistake.
Instead:
- Tap on your subject
- Adjust brightness manually
This gives you control over how your photo actually looks.
5. Avoid Zoom (Move Instead)
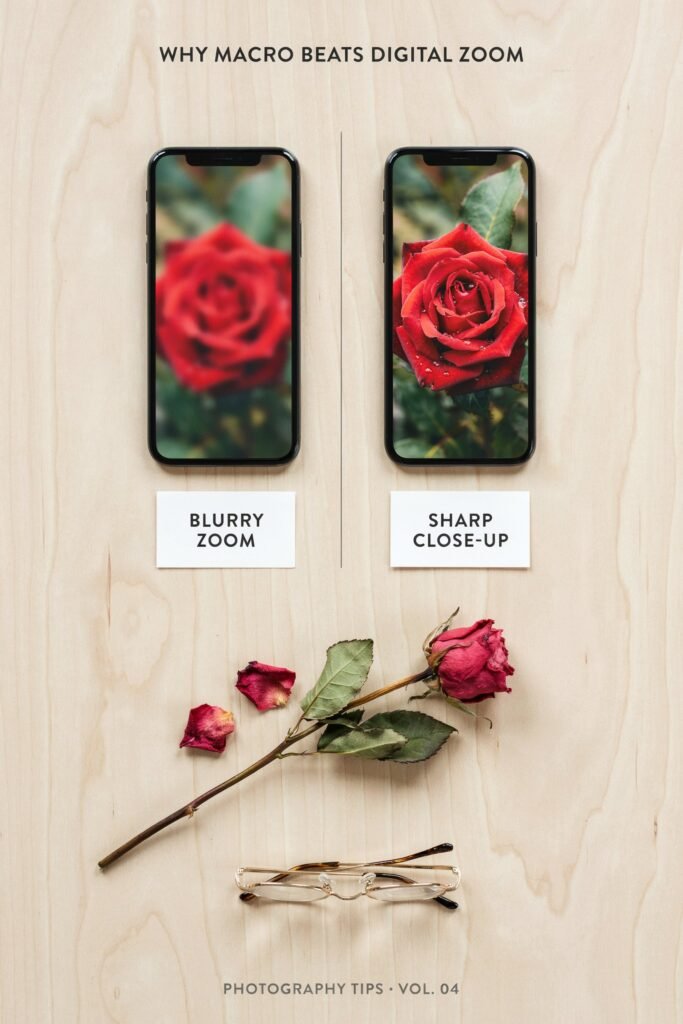
I used to zoom in all the time.
But digital zoom reduces quality.
Now I:
- Move closer to the subject
- Crop later if needed
This keeps the image sharp and clean.
6. Use Portrait Mode the Right Way
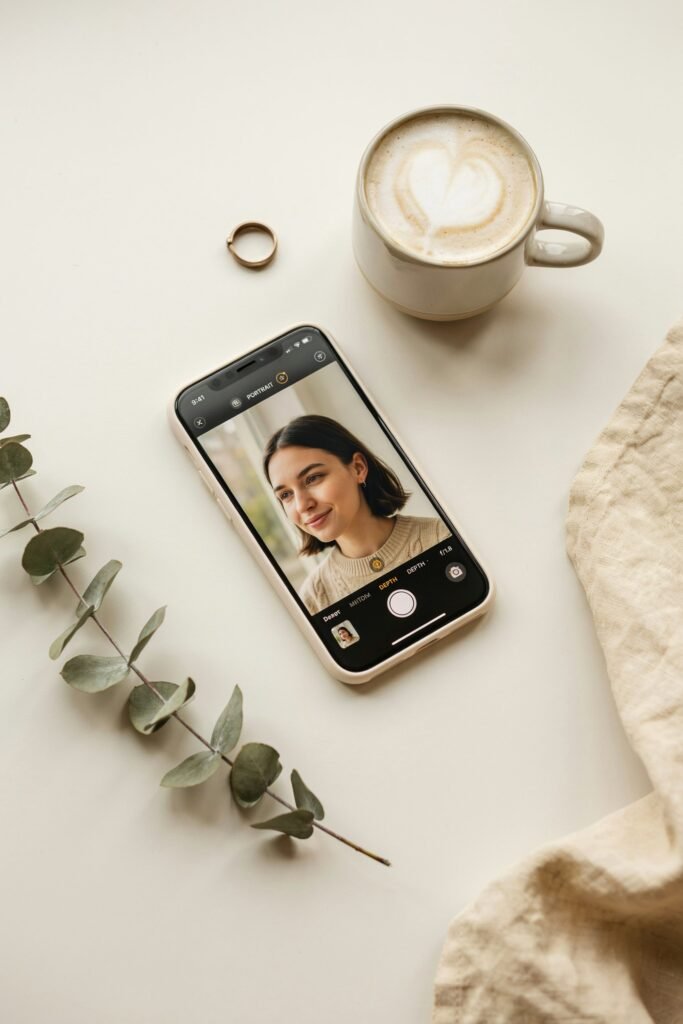
Portrait mode can look amazing… or terrible.
The key is:
- Good lighting
- Simple backgrounds
- Proper distance
When done right, it gives that blurred background effect that looks professional.
7. Keep Your Shots Simple

I used to try to include everything in one photo.
Now I do the opposite.
Less clutter = better photos.
What works:
- One clear subject
- Clean background
- Minimal distractions
Simple always looks better.
8. Try Different Angles (Don’t Shoot Everything Straight On)

This changed everything for me.
Instead of taking photos at eye level, I started experimenting.
Try:
- Top-down shots
- Low angles
- Side angles
Sometimes the angle is what makes the shot stand out.
9. Use Leading Lines

This is a “pro” trick that’s actually easy to use.
Look for lines that guide the viewer’s eye:
- Roads
- Tables
- Walls
- Edges
Position your subject along those lines.
It makes your photo more dynamic instantly.
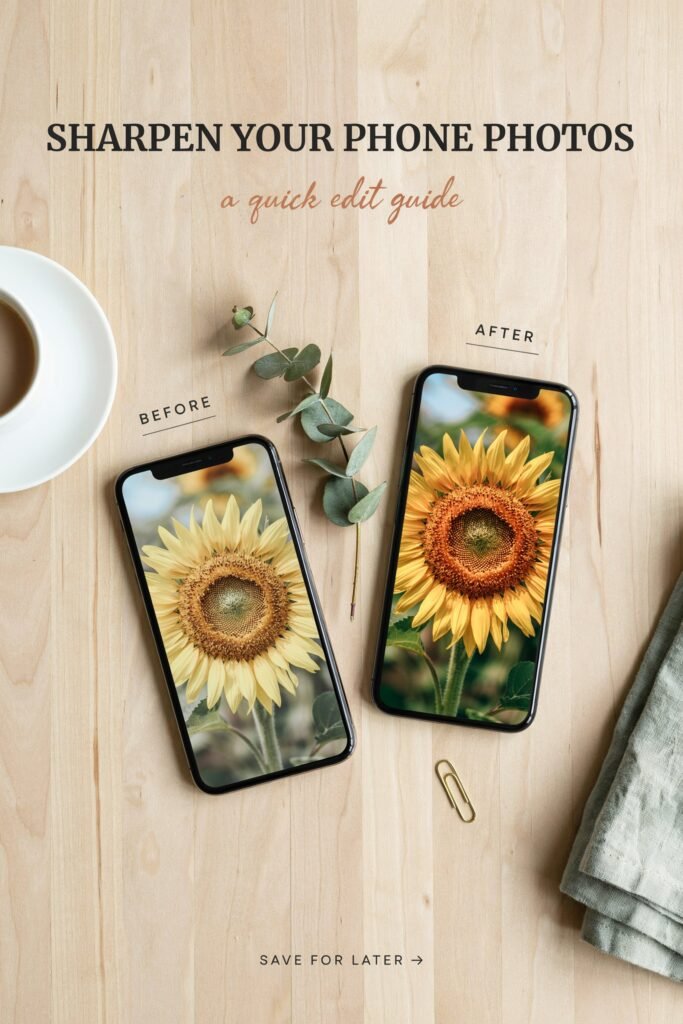
10. Edit Lightly (Don’t Overdo It)
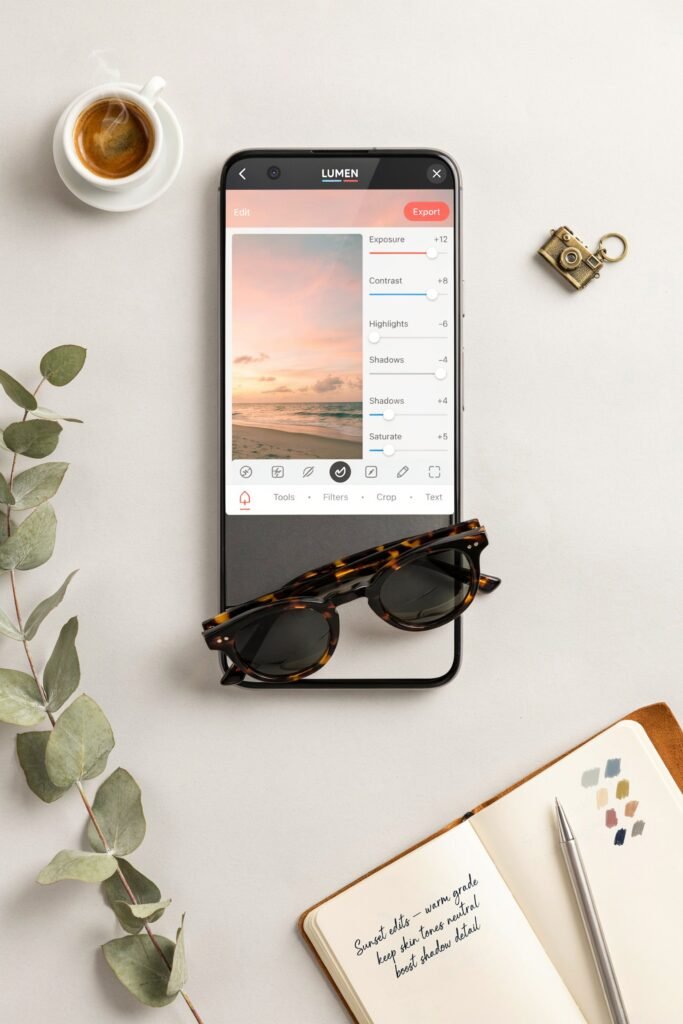
Editing should enhance, not destroy.
What I usually adjust:
- Brightness
- Contrast
- Sharpness
That’s it.
Too many filters can make photos look unnatural.
The Best Free Apps for Smartphone Photography Editing
Once I started taking better photos, I realized something else:
Editing is where the magic really happens.
You don’t need expensive software. Some of the best tools are completely free.
1. Snapseed (My Go-To)
This is the one I use the most.
Why I like it:
- Easy to use
- Powerful tools
- Clean, natural edits
Perfect for beginners and advanced users.
2. Lightroom Mobile
If you want more control, this is amazing.
You can:
- Adjust lighting precisely
- Use presets
- Create consistent styles
It takes a little practice, but it’s worth it.
3. VSCO
Great for aesthetic edits.
It’s simple and gives your photos that clean, “Instagram-ready” look without overdoing it.
Common Smartphone Photography Mistakes to Avoid
I made all of these when I started.
Fixing them alone will instantly improve your photos.
1. Taking Photos in Bad Lighting
If your lighting is bad, nothing else can save the photo.
2. Overediting
Too much contrast, too many filters… it ruins the natural look.
3. Not Focusing Properly
Always tap to focus. Always.
4. Cluttered Backgrounds
If there’s too much going on, the photo loses impact.
5. Rushing the Shot
The best photos usually take a little time.
How to Take Aesthetic Photos for Instagram and Pinterest
This is where things get really fun.
Once I understood this, my photos started looking intentional instead of random.
Focus on a Theme
Your photos should feel consistent.
Examples:
- Minimal
- Bright and airy
- Dark and moody
Pick one style and stick with it.
Use Soft, Natural Colors
Bright, clean tones perform best, especially on Pinterest.
Pay Attention to Backgrounds
A clean background makes everything look more professional.
Keep It Simple
The best aesthetic photos are often the simplest ones.
My Exact Step-by-Step Photo Process
This is what I personally do every time now.
Step 1: Find Good Lighting
Near a window or outside.
Step 2: Set Up the Scene
Clean background. Simple subject.
Step 3: Frame the Shot
Use gridlines and angles.
Step 4: Take Multiple Photos
I never rely on just one shot.
Step 5: Edit Lightly
Adjust brightness, contrast, and sharpness.
That’s it.
Simple, but it works every time.
How to Make Your Photos Look “Professional” Instantly
If you want quick wins, do this:
- Use natural light
- Keep your composition clean
- Avoid zoom
- Edit lightly
- Choose better angles
These five alone can transform your photos.
Final Thoughts: You Don’t Need a Fancy Camera
I used to think better photos required better equipment.
Now I know better.
Your smartphone is already powerful enough.
What matters is:
- How you use light
- How you frame your shots
- How you edit
Once you understand these, everything changes.
And the best part?
You can start right now with the phone you already have.
If you remember anything from this guide, let it be this:
👉 Great photos aren’t taken by accident. They’re created with intention.