
I Wish Someone Had Explained Blogging Like This
When I first tried to start a blog, everything felt unnecessarily complicated.
People kept saying things like:
- buy hosting
- connect a domain
- install WordPress
And I honestly had no idea what any of it meant.
It sounded technical, expensive, and honestly a bit intimidating.
But the truth is — starting a blog is much simpler than most people think.
Once someone finally broke it down for me step by step, I realized it was actually something a complete beginner could do in under an hour.
So I’m going to explain it to you the same way.
No tech experience needed.
No confusing jargon.
Just simple steps you can actually follow.
What You Actually Need to Start a Blog

You only need 3 things:
1. A Domain Name
This is your website name (like yourblog.com)
2. Hosting
This is where your website lives online
3. A Blogging Platform
This is what you use to write posts (we’ll use WordPress)
That’s it.
Nothing else is required to get started.
Step 1: Choose Your Blog Name (Domain)
Your domain name is your website identity.
Think of it like naming a shop.
Examples:
- simplehomeideas.com
- easybloggingtips.com
- mydiyspace.com
Keep it:
- short
- easy to remember
- easy to spell
How to Check Your Domain
We’ll use Hostinger because it makes everything beginner-friendly.
Steps:
- Go to Hostinger website
- Use the domain search bar
- Type your blog name idea
- Click search
It will instantly show:
- if your name is available
- or if someone else already owns it
If it’s taken, just tweak it slightly and try again.
Step 2: Choose Your Hosting Plan
Hosting is what makes your blog live on the internet.
Without it, your website doesn’t exist online.
We’ll also use Hostinger for hosting because it’s one of the easiest platforms for beginners.
How Much Does It Cost?
One of the best parts is that it’s very affordable.
Plans start from around $2.99 per month, which is usually cheaper than most streaming subscriptions.
That means:
- you don’t need a big budget
- you don’t need advanced skills
- you can literally start for a few dollars
Which Plan Should You Choose?
If you are a beginner, you only need:
Why?
- it’s affordable
- easy to set up
- perfect for one blog
You can always upgrade later if your blog grows.
How to Select It
- Go to Hostinger hosting page
- Click “Get Started”
- Choose the basic plan
- Continue to checkout
Simple and guided — no technical setup required.
Step 3: Choose and Connect Your Domain
During setup, Hostinger will ask you to:
- choose a new domain
or - connect one you already own
Most beginners just choose a new domain right there.
The system will automatically link everything for you.
No coding.
No manual setup.
Step 4: Install WordPress (One Click)
Now you need a platform to actually run your blog.
We use WordPress because:
- it’s free
- it’s beginner-friendly
- it powers most blogs in the world
How to Install It
Inside your Hostinger dashboard:
- Click “Install WordPress”
- Select your domain
- Click install
That’s it.
Your website is now active.
Step 5: Open Your Website Dashboard
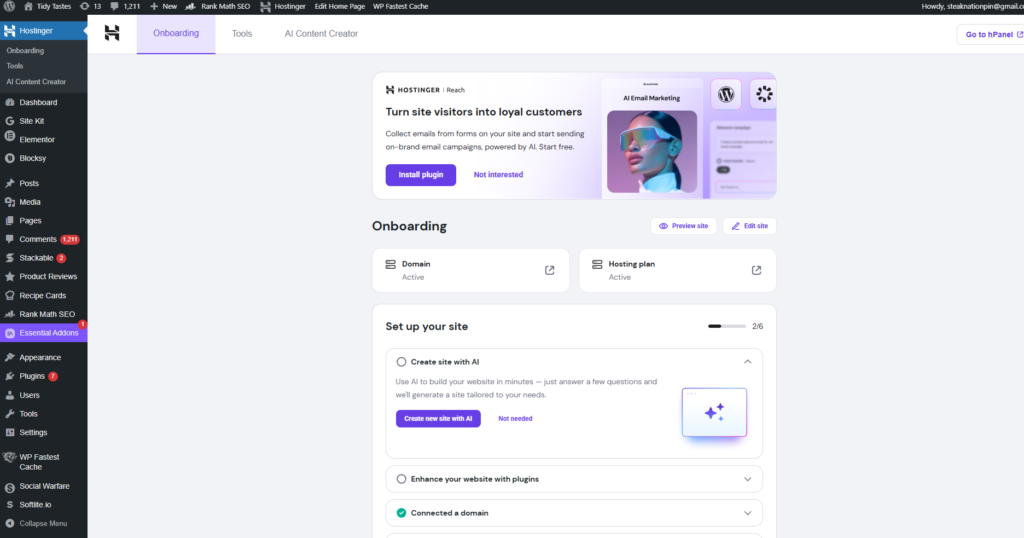
After installation, you’ll get access to your WordPress dashboard.
This is your control panel where you:
- write blog posts
- add images
- change your design
- manage everything
Think of it like the “behind-the-scenes” of your blog.
Step 6: Choose a Simple Theme
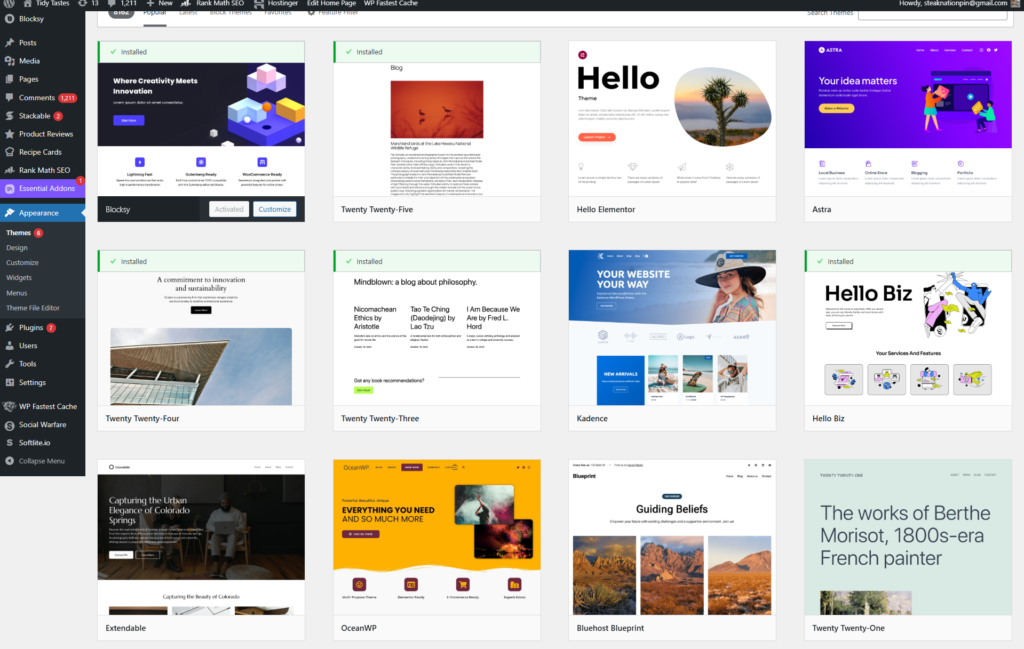
Don’t overthink design in the beginning.
Pick a theme that is:
- clean
- fast
- easy to read
You can change it later anytime.
Right now, the goal is just to get started.
Step 7: Write Your First Blog Post
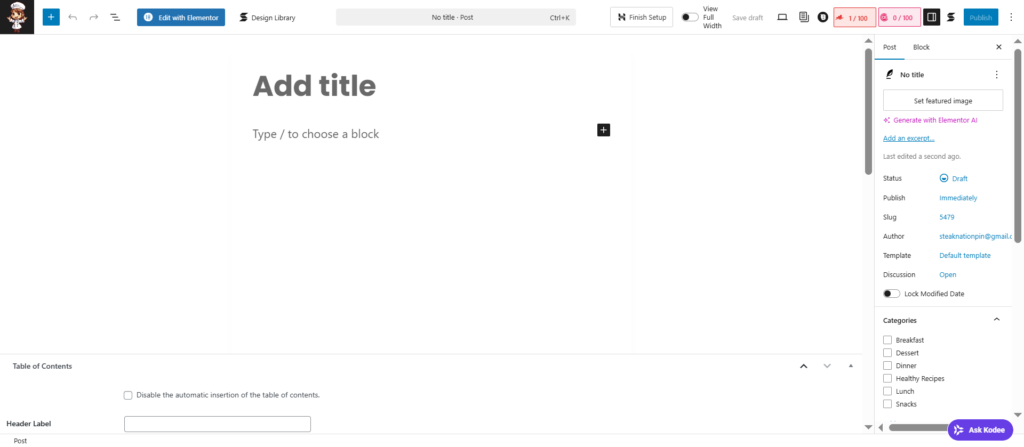
Now you’re ready.
Go to:
- Posts → Add New
Then:
- add your title
- write your content
- click publish
And your blog is officially live.
What Comes Next (Second Half Preview)
In the next section, I’ll show you:
- how to set up your blog properly for Google traffic
- beginner mistakes that stop growth
- how to make your blog look professional
- and how to start getting visitors
What Most Beginners Get Wrong
Once your blog is live, it’s easy to think the hard part is over.
But this is where most beginners make mistakes that slow everything down.
I made a few of them myself.
For example:
- I didn’t set up my blog properly for Google
- I ignored basic SEO
- I focused too much on design instead of content
- I waited too long to publish posts
And nothing really grew.
The truth is — setting up your blog is only step one.
What you do next is what actually brings traffic.
Step 8: Set Up Your Blog for Google Traffic (Simple SEO)
SEO sounds complicated, but it’s actually just making your blog easy for Google to understand.
Think of it like this:
You’re helping Google know:
- what your post is about
- who should see it
- why it matters
Simple SEO Checklist for Beginners
When you write a blog post:
1. Use a clear title
Example:
“How to Start a Blog for Beginners”
2. Use headings
Break your content into sections like this post.
3. Use keywords naturally
Example:
“start a blog”, “beginner blog setup”, “how to create a website”
4. Write like a human
Don’t overthink it — just explain things simply.
Step 9: Install a Few Important Plugins
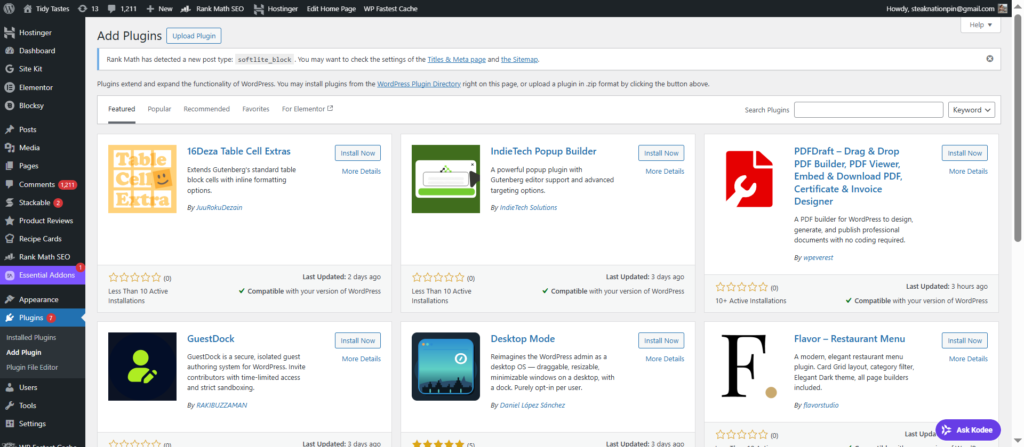
Inside your WordPress dashboard, you can add plugins.
Don’t install too many — just the basics:
Recommended:
- SEO plugin (like Rank Math or Yoast)
- Security plugin
- Backup plugin
These help your blog stay:
- safe
- fast
- searchable on Google
Step 10: Write Content That Actually Brings Visitors
This is the most important part.
Your blog grows because of content — not design.
What You Should Write About
Start with simple topics like:
- beginner guides
- how-to tutorials
- problem-solving posts
Example:
- “How to Make Money Blogging as a Beginner”
- “Easy DIY Ideas for Beginners”
- “Simple Kitchen Recipes Anyone Can Make”
The Simple Rule I Follow Now
If someone is searching for it on Google — write about it.
That’s it.
Step 11: How to Get Your First Visitors
This is where most beginners feel stuck.
But there are two easy traffic sources:
1. Pinterest Traffic
Use Pinterest
You can:
- create simple pins
- link them to your blog
- get free traffic over time
This is one of the fastest ways to get early visitors.
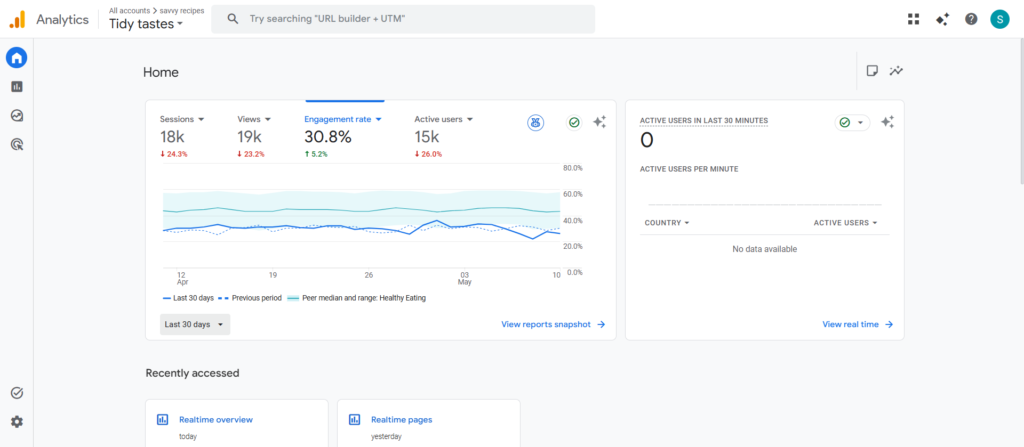
2. Google Search Traffic
Google takes a bit longer, but it lasts longer.
Once your posts are indexed:
- people find your blog naturally
- even while you sleep
Step 12: How Long It Takes to Grow a Blog
Let’s be real.
Blogging is not instant.
But it is simple and consistent.
Typical timeline:
- 1–2 weeks → setup + first posts
- 1–2 months → small traffic starts
- 3–6 months → steady growth
The key is consistency, not speed.
Step 13: When You Can Start Making Money
Once you have traffic, you can monetize your blog using:
- ads (like Google AdSense)
- affiliate marketing
- digital products
Even a small blog can earn if it’s set up correctly.
Final Advice (What I Wish I Knew Earlier)
If I could go back to when I started, I would tell myself this:
Don’t overthink it.
Don’t wait for the perfect design.
Don’t try to be advanced on day one.
Just start simple.
- buy hosting
- set up WordPress
- write your first post
- and improve as you go
That’s how every successful blog starts.
Not perfectly.
Just started.